
Photocopiers are an indispensable part of any modern office. Whether you’re a seasoned professional or a new employee, knowing how to use a xerox machine efficiently can save you time and avoid unnecessary frustration. From basic tasks to advanced features, photocopiers simplify workflows, making them indispensable in modern workspaces. In this guide, we’ll walk you through the basics, share advanced tips, and troubleshoot common issues to help you master photocopying in no time.
Understanding the Basics of a Photocopy Machine
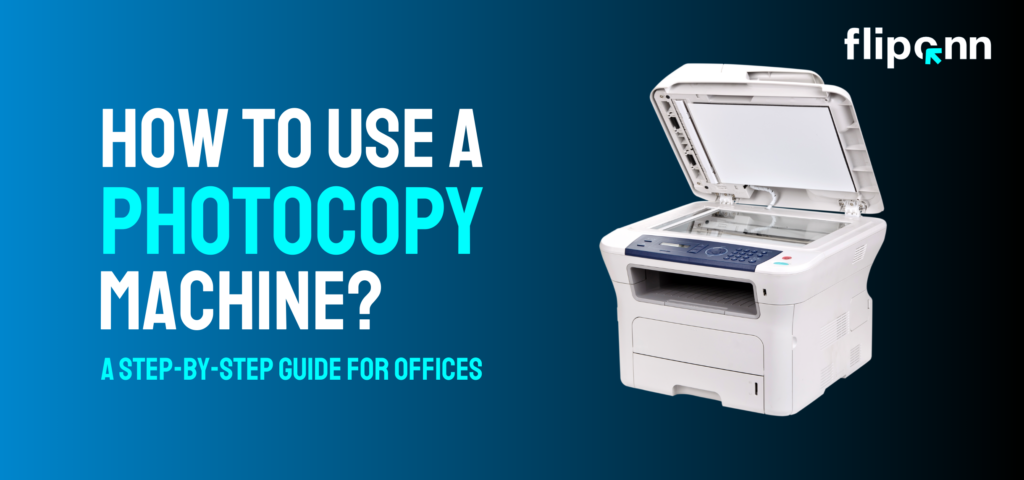
A photocopier, often known as a copier, is a device that makes paper copies of documents and photos rapidly. Multifunction printers (MFPs) are more recent models that can also print, scan, and fax. They employ a technique known as xerography, in which toner is drawn to a drum by static electricity, transferring the picture to paper and fusing it with pressure and heat. This technique has advanced in speed and efficiency since it was first developed in the 1930s.
Looking to purchase a new photocopier? Browse our range of office devices and photocopiers suitable for every business size.
Types of Photocopiers
Understanding the type of photocopier you’re using is crucial for optimal results. Here are the common types:
- Digital Photocopiers: These are the standard in modern offices, offering connectivity to networks, advanced printing options, and features like cloud integration.
- Analog Photocopiers: Once popular for their simplicity, these machines are now rare, mostly found in offices with basic copying needs.
- Multifunction Printers (MFPs): Combining printing, scanning, copying, and faxing, MFPs are ideal for offices that need space-saving, all-in-one solutions.
- Network Photocopiers: Integrated with office networks, allowing multiple users to access them.
How to Use a Photocopy Machine: Step-by-Step Instructions
Follow these steps to use a photocopy machine effectively:
Step 1: Power On the Photocopier
- Locate the power button, usually found on the front or side of the machine.
- Press the button and wait for the photocopier to warm up. Most modern copiers will display a ready signal on the screen when they are good to go.
Step 2: Load the Document Correctly
- If you’re copying a single page, place it face-down on the glass scanning bed.
- If you need to copy multiple pages, use the Automatic Document Feeder (ADF). Make sure the pages are properly aligned to prevent paper jams.
Step 3: Choose Copy Settings
Most photocopiers allow you to customize settings such as:
- Number of copies
- Black & white or color copies
- Paper size and orientation
- Single-sided or double-sided copies (duplex printing)
Use the touchscreen panel or control buttons to select the settings that suit your needs.
Step 4: Adjust Image Quality (Optional)
For high-quality copies, you can adjust:
- Brightness and contrast for better clarity.
- Resolution settings for detailed prints.
- Enlargement or reduction to fit different paper sizes.
Step 5: Press the Copy Button
- Once all settings are configured, press the Start or Copy button.
- Stand by as the machine processes your request. If copying multiple pages, the ADF will automatically feed them through.
Step 6: Collect Your Copies & Check for Errors
- Retrieve your documents from the output tray.
- Check for misprints, smudges, or paper jams before leaving the copier.
Step 7: Troubleshooting Common Issues
- Paper Jams: Open the machine’s indicated compartment and carefully remove jammed paper.
- Low Ink/Toner Warning: Replace the cartridge or request maintenance if needed.
- Blurry or Faded Prints: Adjust contrast settings or clean the scanner glass.
Many providers like Fliponn offer reliable printer and photocopier services in Dubai, ensuring minimal downtime when issues arise.
Tip: For large copy jobs, use the “collate” feature to organize pages automatically.
Advanced Tips for Efficient Photocopying
- Use Presets: Save frequently used settings to reduce setup time.
- Paper Tray Management: Load the correct paper size and type to avoid jams.
- Energy-Saving Mode: Enable this feature during low usage hours.
- Regular Maintenance: Clean the glass and replace toner cartridges to ensure high-quality output.
How to Maintain Your Photocopier
Proper maintenance is key to ensuring your photocopier performs at its best:
- Routine Cleaning: Dust the glass, paper trays, and feeder regularly. Smudges on the glass can result in blurry copies.
- Scheduled Servicing: Partner with a trusted photocopier service provider in Dubai to conduct regular check-ups. Many Dubai-based companies offer comprehensive maintenance plans..
- Supply Management: Always use the manufacturer-recommended toner and paper to avoid damaging the machine.
Did you know? Some photocopiers now come with predictive maintenance features that notify you when a part is nearing the end of its life.
Conclusion
A well-maintained photocopier is a cornerstone of efficient office operations. By mastering its functions and following best practices, you can optimize your document management processes and reduce downtime. From understanding the basics to utilizing advanced features, a little knowledge goes a long way in making your photocopier a reliable ally in your workplace. Whether you’re a new user or a seasoned professional, this guide equips you to handle photocopiers effectively, keeping your office running smoothly. As Dubai continues to embrace smart technology, staying informed about advancements in office equipment will help you keep pace with this ever-evolving city.
Curious about how to tackle recurring issues? We’ve listed the top 9 photocopier problems and their solutions to keep you covered. Whether you’re a new user or a seasoned professional, this guide equips you to handle photocopiers effectively, keeping your office running smoothly. If you need professional support, contact our expert team at Fliponn Tech for photocopier repair and maintenance services, or explore our photocopier rental options and office equipment. assistance.