
Out of toner at the most inopportune time? Relax – it’s simpler than you might think to learn how to change toner cartridges. Whether your task involves a home printer or office machinery, this all-inclusive toner cartridge replacement tutorial will guide you through every step of the way, guaranteeing ideal print quality each and every time.
Understanding When to Replace Your Toner Cartridge
Prior to embarking on the replacement process, it is important to identify the cues that your toner cartridge should be replaced. The majority of contemporary printers will issue warning messages when toner is low, but these are the major indicators:
- Decline in print quality: Dull, streaked, or spotty prints
- Low toner alerts: Blazing lights or on-screen messages
- Blank pages: Entire lack of images or text on printed pages
- Irregular color distribution: Swatches of missing or variable color
Essential Safety Precautions
Before starting the process of replacing the toner cartridge, observe these critical safety measures:
- Allow cooling time: Let your printer cool off thoroughly, particularly if you’ve been using it intensively
- Prepare your workspace: Put newspapers or paper towels around your working space to contain any spills
- Handle with care: Refrain from touching electrical contacts and drum units
- Shower with cold water: To remove toner from skin or clothing, use cold water and soap – always cold water, never warm water
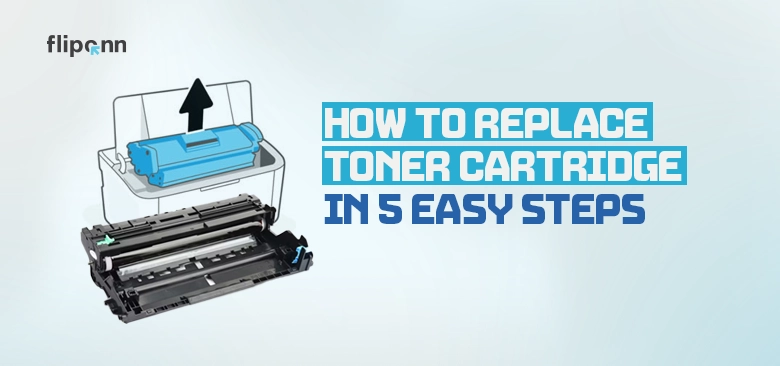
How to Change Toner Cartridge: Universal Steps
While specific steps may vary by printer model, this replaces toner cartridge steps guide covers the general process that applies to most laser printers:
Step 1: Power Down and Access the Printer
- Turn off your printer and unplug it from the power source
- Open the printer’s front cover or top lid (location varies by model)
- Allow the printer to cool for at least 10 minutes
Step 2: Remove the Old Toner Cartridge
- Locate the toner cartridge that needs replacement
- Press any release tabs or handles
- Carefully lift or pull the cartridge straight out
- Place the old cartridge in a protective bag to prevent toner spillage
Step 3: Prepare the New Toner Cartridge
- Remove the new cartridge from its packaging
- Keep all protective materials and bags for future use
- Important: Gently shake the cartridge 5-6 times horizontally to distribute toner evenly
- Remove all sealing tape and protective covers as indicated by arrows or instructions
Step 4: Install the New Toner Cartridge
- Hold the cartridge by its designated handle areas
- Align the cartridge with the correct slot (color-coded for color printers)
- Slide the cartridge in until it clicks into place
- Ensure it’s seated properly and securely
Step 5: Complete the Installation
- Close the printer cover firmly
- Reconnect the power cable
- Turn on the printer
- Print a test page to verify proper installation
Brand-Specific Tips for Changing Printer Toner Cartridge
HP Printers: Look for blue handles and follow color-coded slots. Always remove orange protective tape. Check HP’s official page for model-specific instructions.
Canon Printers: Pull out the entire toner cartridge tray, replace individual cartridges, then slide the tray back completely.Visit Canon’s support page for detailed printer manuals.
Xerox Printers: Open the left cover – cartridge slides out horizontally. Always shake gently before installing.Refer to Xerox documentation for additional troubleshooting.
Brother Printers: Some models require removing the drum unit first before accessing the toner cartridge.Find your model instructions on Brother’s support site.
Troubleshooting Common Installation Issues
Cartridge Won’t Fit
- Check you’re using the right cartridge model
- Ensure all protective tape is removed
- Check the orientation and alignment
Poor Print Quality After Replacement
- Print a few test pages to let the toner settle
- Check for any leftover protective materials
- Check that the cartridge is seated correctly
- If issues persist, you may need professional printer repair services to diagnose hardware problems
Error Messages After Installation
- Turn off and then back on the printer again
- Make sure the cartridge is clicked into position correctly
- Check for loose connections
Pro Tips for Success
- Use Genuine Cartridges: Manufacturer-recommended cartridges ensure optimal print quality and prevent printer damage. Browse our certified genuine cartridges for guaranteed compatibility.
- Proper Storage: Keep spare cartridges in original packaging in a cool, dry place.
- Environmental Responsibility: Most manufacturers offer free recycling programs for used cartridges. Learn aboutHP’s Planet Partners program andCanon’s cartridge recycling initiatives.
- Need Expert Help?: If you’re unsure about compatibility or installation, our experienced team is here to help with professional guidance.
- Professional Maintenance: For office photocopiers and high-volume printers, consider regular professional photocopier servicing to maintain optimal performance and extend equipment lifespan.
Conclusion
Mastering the skill of replacing toner cartridges is time- and cost-saving. Following this toner cartridge replacement tutorial ensures that you will have uniform print quality and prolong the life of your printer. Be careful when handling cartridges, purchase genuine products whenever available, and recycle used cartridges correctly.
Regular upkeep and responsible cartridge replacement ensure your printer prints smoothly, delivering professional-quality documents whenever you need them. For use at home or at the office, learning this fundamental skill rewards you with increased productivity and print quality.
Need replacement toner cartridges? Visit Fliponn.ae for genuine cartridges and expert printer support. Have questions about specific cartridge models? Contact our specialists for personalized recommendations.
FAQ’s
When should I replace my toner cartridge?
Replace your toner cartridge when you notice faded, streaked, or spotty prints, low toner warning lights or on-screen alerts, blank pages with no text or images, or uneven color distribution. Most modern printers display warning messages before toner runs completely out, giving you time to prepare a replacement.
How can I tell if a toner cartridge is empty?
The most obvious signs are blank or nearly blank pages, faded and streaky print quality, and missing patches of color. Your printer will also typically display a low toner warning light or on-screen message. To confirm, remove the cartridge and gently shake it side to side — if there’s still toner inside, you’ll feel and hear it shifting. If the cartridge feels very light and shaking produces no results, it’s time to replace it.
Can I refill a toner cartridge myself?
Yes, it is technically possible to refill a toner cartridge yourself using a toner refill kit. However, it carries significant risks, using the wrong toner powder type can cause leaks, streaks, and internal printer damage. DIY refilling can also be messy and may void your printer’s warranty. If you choose to refill, ensure you use the exact toner powder specified for your cartridge model. Professional refilling by a specialist is strongly recommended over DIY for better results and less risk.
Is it worth it to refill a toner cartridge?
It depends on your priorities. Refilling is cheaper upfront and more environmentally friendly than buying a new cartridge. However, the quality of refilled cartridges is often inconsistent, you may experience streaks, faded prints, or leaks. Poor-quality refills can also damage internal printer components, leading to costly repairs. For occasional printing, a refill may suffice, but for businesses requiring consistent, professional-quality output, purchasing a genuine or certified compatible replacement cartridge is the better long-term investment.
Can I still print if one cartridge is empty?
On most color laser printers, the printer will stop printing entirely when one color cartridge runs out even if you only need black-and-white prints, because the printer checks all cartridges before printing. However, some printer models allow you to continue printing in black and white only when a color cartridge is empty. Check your printer’s settings menu for a “black only” or “grayscale” mode. On single-cartridge monochrome (black only) laser printers, the printer simply won’t print at all once the toner is gone.